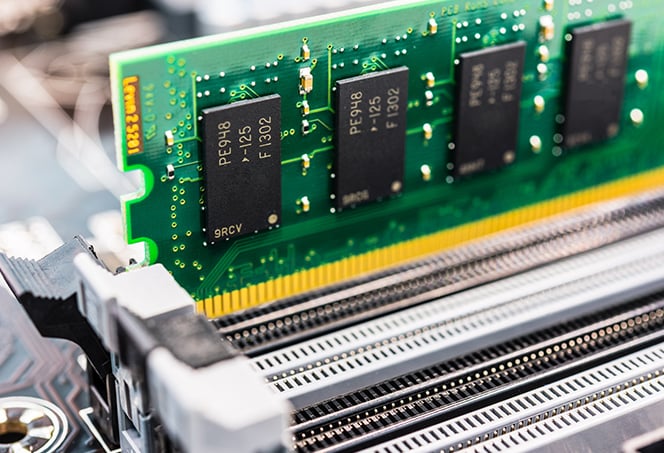
Random Access Memory is the main memory used to perform temporary storage when the computer is alive. The function of this device is none other than as a supporter for the processor to do all the computing process. RAM speed and capacity have a close relationship with computer performance. Here are some steps you can try to optimize RAM on your Laptop:
Optimize Random Access Memory With Task Manager
With Task Manager we can see the whole process that runs, we can do sorting from the use of the largest RAM to the smallest. To open Windows Task Manager you can access Task Manager by pressing Ctrl + Alt + Del or right-clicking on start taskbar and select Task Manager. Then you will see a window displaying the entire application process monitor.
Set Up Visual In Windows 7
If you are setting visuals to be “Best Performance”, then there must be a change in the look of your computer, for example in a file that usually displays “Thumbnails icon” will not display the image, then you need to make adjustments by checking some settings as needed.
How to Visual Settings in Windows 7:
- Open the Start menu
- Right-click Computer
- Select “Properties” in the menu item that appears
- In the left pane, select “Advanced system settings”
- Then click the advanced tab and on Performance, click the “Settings”
- In the “Visual Effects” Tab Select “Adjust for best performance”
Reduce Color Quality
Using 32-bit colors uses more memory than using 16-bit colors. If your computer is usually used for business and office applications such as word processor and spreadsheet then the difference between 16 bit and 32-bit colors is not very visible, so it’s better to just lower the color quality to 16 bits. The trick, right-click on an empty spot on your desktop Properties | Settings then in the color quality box select 16 bits.
Through the Msconfig
- Open “RUN” on your computer.
- Click the windows logo in the left corner then type “Run”. Or to be faster able to hit Win + R on your keyboard.
- After that type “ms config” in the open column. Then press “Enter” (see Picture below)
- Select Boot Tab
- Checklist column “No Gui Boot
- For the time you can also change the Time-out into 3 seconds.
- After that go Advance Options.
- Change “Numbers Of Processor” to 2.
- Do not forget to give a checklist on “Maximum Memory”
- When finished click “OK” and “Apply” and “OK” again.
- The last step restar your computer / laptop.
For your reference, you can read this Easy Tips And Tricks For Cleaning Carpets.


